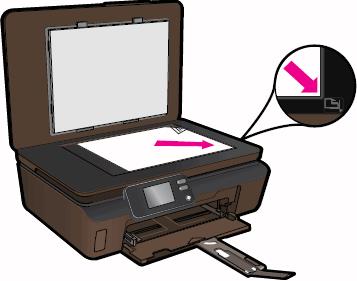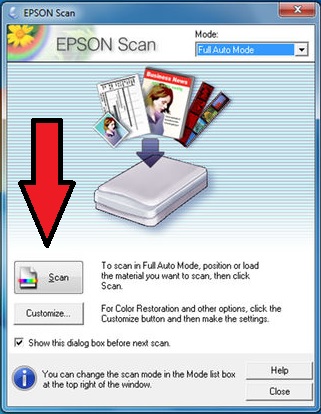
Step Three: Turn on the “Scan” Function
Whether you are using a PC or a Mac computer or a laptop, there will usually be an icon for your printer located on the desktop screen. Clicking on this icon or pressing the “scan” button on the machine itself will bring up a control menu for the printer/scanner that will allow you to select your color and printing options.

Step Four: Choosing Your Color Options
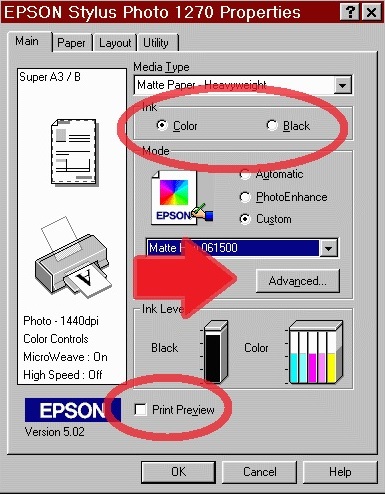
Once the scanning process activates, you can choose either “black or white” or “color” scans. An “advanced” options button might also appear which allows you to adjust the color and brightness levels of the scanned image. This can come in handy for those older photographs that have become faded over time.

After experimenting with your color choices, click the “print preview” button to see how the final scan will look once it is digitized. If everything looks acceptable, simply click the “OK” button to complete the scan.

