Step Five: Storing the Final Image
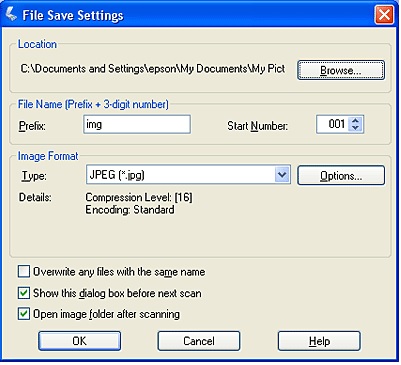
At this point, the program will then prompt you for a location on your computer or external hard drive to store the image. You can also choose which file extension as well (JPEG, TIFF, and several others). JPEG or JPG images take up less space on your hard drive, but TIFF files usually provide a much higher quality image.

And that’s it! You’re done! If you want to view the final version, simply go to the folder location of the saved image and click on it.
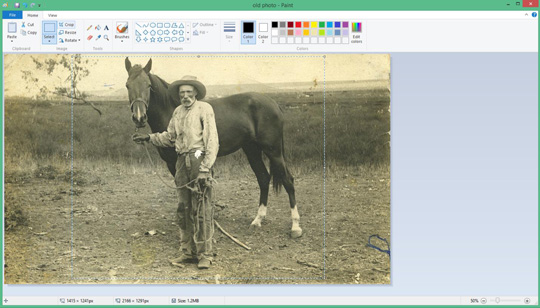
In some cases, you might want to trim or crop some of unused space around the picture itself. By right-clicking on the image, you should be offered an “edit” option. Click on “edit”, and the image will open in a Microsoft “Paint” program (for PC’s), allowing you to trim and crop the image as you see fit. You can even add names, locations, and dates to the image if you like by using the text options.

Your digital images will last forever as long as they are stored properly.
You May Also Like:
A Simple Way to Read Old Tombstones
Simple Ways to Improve Your Genealogy Productivity
Your Family Tree Can Determine a Baby's Gender

